
Escape From Tarkov Factory Map Guide Essential Tips
Understanding the Factory Layout in Tarkov
Navigating the intricate maze of the Factory map in Escape From Tarkov can be a daunting task for even the most seasoned players.
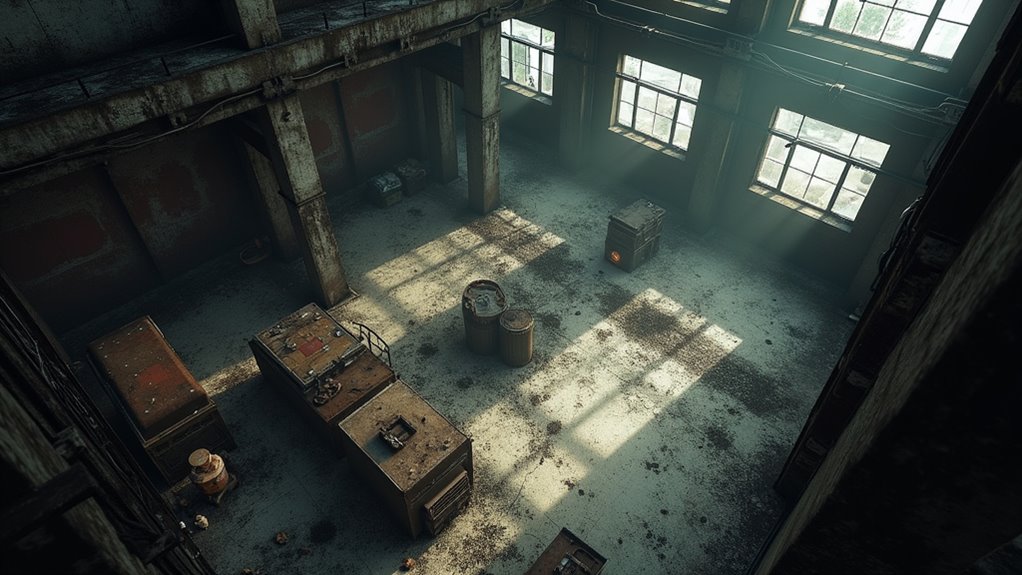 Understanding the layout is crucial for survival. The Factory is divided into several factory zones, each offering unique tactical advantages and challenges. Recognizing these zones helps you anticipate enemy movements and plan your strategies effectively.
In the central area, you’ll find tight corridors and open spaces that can be advantageous for close-quarters combat. However, these zones also make you vulnerable to ambushes. Always consider your tactical positioning; high ground or corners can provide significant advantages, allowing you to spot enemies before they see you.
Utilizing the various factory zones to your advantage can drastically improve your chances of success. Familiarize yourself with the map’s layout, and don’t underestimate the importance of positioning. It could mean the difference between life and death in this unforgiving environment.
Key Entry Points and Exits
Understanding the factory layout not only helps you maneuver through the map but also highlights the key entry points and exits that can significantly influence your gameplay. Mastering these areas will enhance your entry tactics and exit strategies, leading to better survival rates.
- Main Entrance: This is the most obvious entry point, but it’s often heavily contested. Approach with caution.
- Side Windows: These can provide stealthy entry options. Use them to surprise enemies, but be aware of their blind spots.
- Rooftops: Climbing to higher ground allows for advantageous positioning. It’s a great escape route or vantage point for scouting.
Best Loot Locations
When you're on the hunt for valuable loot in the Factory map, knowing the best locations can make all the difference. Start by checking the office area; it's a prime loot spawn for high value items like weapon cases and medical supplies. The basement is another hotspot, often yielding tactical gear and rare items, so don’t overlook it.
The second-floor catwalk also provides access to several crates and shelves where you can find assorted loot, including ammunition and attachments. Additionally, look near the forklift in the loading dock—this spot can spawn high-value items like keys and cash.
Lastly, always keep an eye on the middle section of the map; it’s frequented by players but can hide valuable loot if you’re quick. By targeting these locations, you’ll maximize your chances of walking away with top-tier gear. Happy looting!
Navigating Close-Quarters Combat
In close-quarters combat on the Factory map, your awareness of sound can be a game-changer. By honing your listening skills and utilizing strategic cover, you can outmaneuver opponents and gain the upper hand. Mastering these techniques not only enhances your survival chances but also elevates your overall gameplay experience.
Sound Awareness Techniques
While navigating the tight corridors of the Factory map in Escape From Tarkov, honing your sound awareness is crucial for survival. Mastering sound directionality techniques and audio cue recognition can be the difference between life and death. Here are three tips to enhance your auditory skills:
- Listen for Footsteps: Pay attention to the distinct sounds of footfalls. Different surfaces produce varying audio cues, helping you pinpoint enemy locations.
- Identify Weapon Sounds: Distinguish between weapon types. Knowing the sound of a gun can inform you of the threat level and distance.
- Use Headphones: Invest in quality headphones to improve sound clarity and spatial awareness. This will enhance your ability to detect subtle movements and interactions in close quarters.
Strategic Cover Utilization
Effective cover utilization can be the deciding factor in close-quarters combat on the Factory map. Knowing the different cover types available—like crates, walls, and doorways—allows you to position yourself advantageously. Each type has unique strengths; for instance, crates can provide concealment while also allowing for quick movement.
Understanding engagement angles is crucial. Positioning yourself behind cover not only protects you from incoming fire but also gives you the upper hand in controlling sightlines. Always be aware of how enemies may approach; using corners and elevated platforms can help you gain a tactical advantage. Remember, effective movement between cover types can keep you unpredictable, making it harder for enemies to land their shots while you strike back.
Listening for Enemy Movements
Although gunfire and explosions often dominate the soundscape in Escape From Tarkov's Factory map, listening for enemy movements can provide crucial tactical advantages. By honing your directional sound awareness, you can anticipate enemy positions and movements more effectively. Here are three key points to focus on:
- Identify Enemy Audio Cues: Pay attention to footsteps, reloads, and other subtle sounds. These cues can give away an enemy's location or intent.
- Use Headphones: A good pair of headphones can drastically improve your ability to pinpoint sound direction, making it easier to locate enemies.
- Stay Silent: Minimize your own noise. Crouch or go prone to reduce sound and increase your chances of hearing opponents before they hear you.
Using Sound to Your Advantage
Building on your ability to discern enemy sounds, you can leverage audio cues to craft strategic advantages during engagements. Sound plays a crucial role in Escape From Tarkov, especially in the Factory map's close-quarters chaos. By honing your audio recognition, you’ll be able to identify not just footsteps, but also weapon handling, reloads, and even the distinct sounds of grenades.
Pay attention to the directionality of these sound cues; they can inform you about an enemy’s position and movement. For instance, if you hear a loud crash from a specific area, it may indicate an enemy's entrance or sudden action. Use this information to preemptively position yourself, ambush, or avoid confrontation altogether.
The more you practice, the better you’ll become at interpreting these sounds, transforming them into a tactical edge that can turn the tide of a skirmish in your favor.
Tips for Extracting Safely
When planning your extraction in the Factory map, knowing the map's extraction points is crucial for a successful escape. Timing your exit can make all the difference, as the right moment can help you avoid ambushes. Additionally, staying aware of common pitfalls will keep you one step ahead of potential threats.
Map Extraction Points
Navigating the extraction points in Escape From Tarkov's Factory map can feel like a high-stakes game of chess, where every move counts. Understanding the available escape routes is crucial for a successful extraction. Here are three key tips to help you maximize your chances:
- Know Your Extraction Points: Familiarize yourself with the map to identify where you can safely extract. Each point has specific requirements, like items or keys, so be prepared.
- Listen for Sounds: Stay alert to audio cues from other players. Knowing when someone’s nearby can help you choose whether to engage or hold your position.
- Use Cover Wisely: Always stick to cover while moving toward the extraction points to minimize visibility, making it harder for enemies to spot you.
With these strategies, you’ll enhance your chances of a successful escape.
Timing Your Escape
Timing your escape in Escape From Tarkov's Factory map can be the difference between life and death. Understanding when to initiate your extractions is crucial. Wait too long, and you risk running into other players or getting caught off guard. Monitor the timer and be aware of the server’s dynamic; late-game extractions can be more chaotic.
To optimize your timing, familiarize yourself with the various escape routes and their surrounding areas. Knowing where players typically congregate can help you avoid ambushes. Additionally, listen for audio cues of nearby engagements—if you hear gunfire, it may be your cue to leave. By mastering the timing of your extractions and selecting the best escape routes, you’ll significantly improve your chances of survival.
Avoiding Common Pitfalls
While you may feel the adrenaline rush of combat, staying focused on your extraction strategy can prevent costly mistakes. Many players fall into common pitfalls that can jeopardize their escape. To increase your chances of a successful extraction, keep these points in mind:
- Avoid rushing: Player tendencies often lead to hasty exits, exposing you to ambushes.
- Check your surroundings: Neglecting to scout for enemies can result in unwelcome surprises right before extraction.
- Coordinate with teammates: Solo players frequently underestimate the power of teamwork, leaving themselves vulnerable during critical moments.
Frequently Asked Questions
What Is the Best Weapon for Factory Raids?
The best weapon for factory raids is often the M4A1, due to its versatility. Pair it with the right weapon attachments, like a suppressor and red dot sight, to create an optimal loadout for close-quarters combat.
How Can I Improve My Aiming Skills in Tarkov?
To improve your aiming skills in Tarkov, practice aiming techniques like flick shots and tracking. Incorporate reflex training exercises, such as using aim trainers, to enhance your reaction time and precision during intense firefights.
What Are the Best Armor Choices for Factory Runs?
For factory runs, you'll want armor types like Class 4 or Class 5, balancing armor durability and mobility. Prioritize lightweight options to enhance speed while ensuring sufficient protection from common threats in close-quarters combat.
How Do I Manage My Inventory Effectively During Raids?
To manage your inventory effectively during raids, focus on inventory organization and item prioritization. Keep essential gear and loot at the forefront, discarding less valuable items to maximize space and enhance your survival chances.
Can I Play Factory Solo, or Is It Better With a Team?
You can play Factory solo, but team dynamics often enhance survival chances. While solo strategies focus on stealth and quick exits, a team allows for coordinated attacks and shared information, increasing your chances of success.